Firstly, I'm going to say how good it was to work on a project that actually got done ahead of schedule. We had a properly stress free hand in that mostly consisted of hanging out in a pub. It's helped me realize the importance of planning. You've got to add in time for things going wrong, which they invariably will. We had a bunch of problems here and there but we quickly moved on and found solutions. That's probably the most important thing I've learned actually, you should try to focus on what can be gained from trying a new approach as opposed to dwelling on the time and effort wasted on an idea that isn't going anywhere. Obviously I spent a fair amount of time on the model at the beginning, but what we gained by using a pre made model far outweighed the loss.
The techniques I've learned for modelling will inform my next project, there are quite a few approaches I'd like to try out and they should result in a lot less geometry issues to the methods I've been using so far. I think you often learn more from failure than from success...
I'm definitely more comfortable with using lights after this project, but I'd like an opportunity to stretch myself, perhaps something more dynamic or contrasting. I'll do some experiments over the coming weeks and see what I can come up with.
I've learned a lot about what works and what doesn't in After Effects. Using motion blur was necessary in this project to make everything look like it fit in with the rest, but I've definitely learned that motion blur takes a bloody long time to render.
My work flow has improved somewhat, but that's definitely something that needs further work. I'm going to keep working over this break in order to keep the habit up.
I need to be more precise with my blockouts when compositing...
I'll have to work closer with the sound technician next time so that if last minute changes need to be made it won't be an issue. To be fair to Mattheu, it's his dissertation week so he didn't have an awful lot of time and he did a great job all things considered.
I'm pretty happy with how this came out anyway, all in all.
Monday, March 28, 2011
The next step was to make a rough composit of all the shots. This was for a couple of reasons. The first was that it made sure we knew exactly which scenes needed work and the other was so that we could give a copy to our sound technician, Mattheu Baron. For these scenes we didn't worry about blocking out environments and the lighting was very basic. I made a simple ambient light in each scene set to 1.0 intensity to make sure everything was clear, and we didn't render any shadows.
As we were getting all this done I noticed a couple of problems with the rig we were now using (It was downloaded from Creative Crash). One of the feet was twisting in on itself every step. Apparently this is an issue within Maya, so it was easily fixed. All I had to do was download a hot fix from Autodesk and the problem was solved.
We used lower quality render settings on this rough composit, so when everything came out it was a little stretched and looked a little rubbish, but it had everything Mattheu needed and that's what was important.
So now we split the scenes up to work on blocking them out so that shadows would be cast correctly and things that were supposed to be in front of the creature would appear that way. Unfortunately none of us really knew enough about what came next to do them quite right... Some of them took a long time but until we had the animations through we had no way of knowing that things wouldn't work.
Turns out the process is actually quite simple... You only need to model the objects that will affect the subject, and even then you can take a load of shortcuts. Once I had the animations it was easy to see where we'd been going wrong so I started again and blocked out all the scenes that needed it. Unfortunately because Will hadn't been animating to a blockout there were a few scenes where the creature moved in and out of the objects I was creating. I tried to tweak the animations, but I did so very clumsily and it looked a bit rubbish. When it came to actually compositing we used Will's animation and he masked the objects in AfterEffects. I'll talk more about that later.
I was also lighting all the scenes except for the full modelled ones that Nat was taking care of. For most of the shots I was using a combination of an ambient light and a point light, with varying balancing of intensity. Depth map shadows with a high filter size (usually 5) but low resolution (usually 512) gives a very soft shadow and saves a lot on render time. The shadows themselves were usually very light, sometimes close to white in colour. With the blockouts in place scenes look a little like this:


 The next step is to asign a background material to everything you don't want rendered, so in this case the fencing and the ground planes are all background material. When this renders out all the shadows that they create and are cast on them are rendered, and if the creature passes in front of them you can't see that part of him, but the objects themselves are invisible. It's simple but does the job.
There was one shot that was slightly more complicated. Shot 19 has the creature running into the distance, but he passes under a large building which casts a shadow on him.


 What I did here, to make sure the shadows fell in the right way, was made two point lights in the shot. One for the creature and one for the building. I then linked them together and it worked out quite nicely. I realize I made out like this was quite complicated. I suppose it wasn't. It took me a while to tweak it right though...
After all the lighting was done we split up the shots, two each approximately. We then proceeded to render (importantly we removed the image plane which we didn't for the rough composit, this is why we had issues with the alpha layer). We did two renders for each shot. The first was a render using maya software so we could get the shadows just right, and the second was using Mental Ray which was to get the best detail on the creature. Next we put everything in to After Effects. We didn't have the audio to make sure everything matched up at this point unfortunately, but we all did our best. The first layer was the maya software shadow layer, then came the mental ray render. That meant we could control things like the opacity of the shadows without affecting the creature itself, so we softened up the shadows yet further.
There was a few issues with my blockouts. They didn't match up perfectly with the environments in the render. You can't really tell unless you slow things down, but what we should have done, certainly for the shots where there weren't many shadows on the objects in front, was mask them in after effects, which is what Will ended up doing with his show anyway.
Once everything was rendered and ready, and Mattheu had got back to me with the audio (sound effects and music separately so we could control levels etc) we could start the final edit in Final Cut. Nat got everything together initially, but the audio didn't quite fit in some shots because of the changes we'd made since giving the film to Matt. Seeing as Nat had done all the editing up until this point I volunteered to take over for these last tweaks to give her a bit of a rest. I had to lengthen some shots and reduce some others so that things worked in basically the right places. The shots where nothing was happening, you may notice looking at the final film, are sometimes a little bit longer than they need to be... But because of that minor problem, you don't end up with all of the sound out of sync. So an important tradeoff. If I had had the raw audio files for everything I probably would have tweaked that as opposed to the video, but we had to work with what we got.
As we were getting all this done I noticed a couple of problems with the rig we were now using (It was downloaded from Creative Crash). One of the feet was twisting in on itself every step. Apparently this is an issue within Maya, so it was easily fixed. All I had to do was download a hot fix from Autodesk and the problem was solved.
We used lower quality render settings on this rough composit, so when everything came out it was a little stretched and looked a little rubbish, but it had everything Mattheu needed and that's what was important.
So now we split the scenes up to work on blocking them out so that shadows would be cast correctly and things that were supposed to be in front of the creature would appear that way. Unfortunately none of us really knew enough about what came next to do them quite right... Some of them took a long time but until we had the animations through we had no way of knowing that things wouldn't work.
Turns out the process is actually quite simple... You only need to model the objects that will affect the subject, and even then you can take a load of shortcuts. Once I had the animations it was easy to see where we'd been going wrong so I started again and blocked out all the scenes that needed it. Unfortunately because Will hadn't been animating to a blockout there were a few scenes where the creature moved in and out of the objects I was creating. I tried to tweak the animations, but I did so very clumsily and it looked a bit rubbish. When it came to actually compositing we used Will's animation and he masked the objects in AfterEffects. I'll talk more about that later.
I was also lighting all the scenes except for the full modelled ones that Nat was taking care of. For most of the shots I was using a combination of an ambient light and a point light, with varying balancing of intensity. Depth map shadows with a high filter size (usually 5) but low resolution (usually 512) gives a very soft shadow and saves a lot on render time. The shadows themselves were usually very light, sometimes close to white in colour. With the blockouts in place scenes look a little like this:


There was one shot that was slightly more complicated. Shot 19 has the creature running into the distance, but he passes under a large building which casts a shadow on him.


After all the lighting was done we split up the shots, two each approximately. We then proceeded to render (importantly we removed the image plane which we didn't for the rough composit, this is why we had issues with the alpha layer). We did two renders for each shot. The first was a render using maya software so we could get the shadows just right, and the second was using Mental Ray which was to get the best detail on the creature. Next we put everything in to After Effects. We didn't have the audio to make sure everything matched up at this point unfortunately, but we all did our best. The first layer was the maya software shadow layer, then came the mental ray render. That meant we could control things like the opacity of the shadows without affecting the creature itself, so we softened up the shadows yet further.
There was a few issues with my blockouts. They didn't match up perfectly with the environments in the render. You can't really tell unless you slow things down, but what we should have done, certainly for the shots where there weren't many shadows on the objects in front, was mask them in after effects, which is what Will ended up doing with his show anyway.
Once everything was rendered and ready, and Mattheu had got back to me with the audio (sound effects and music separately so we could control levels etc) we could start the final edit in Final Cut. Nat got everything together initially, but the audio didn't quite fit in some shots because of the changes we'd made since giving the film to Matt. Seeing as Nat had done all the editing up until this point I volunteered to take over for these last tweaks to give her a bit of a rest. I had to lengthen some shots and reduce some others so that things worked in basically the right places. The shots where nothing was happening, you may notice looking at the final film, are sometimes a little bit longer than they need to be... But because of that minor problem, you don't end up with all of the sound out of sync. So an important tradeoff. If I had had the raw audio files for everything I probably would have tweaked that as opposed to the video, but we had to work with what we got.
Sunday, March 27, 2011
Well gosh! A lot has happened in the last few weeks! Perhaps I should have written this blog while things were still fresh in my mind... Oh well!
OK, so first thing's first... That model we were going to use? Not going to work unfortunately. Too many problems. Perri made additions to it directly in Maya which looked fine static, but as soon as the model was textured and rigged things started to go wrong. What this means for me is that the arm I made isn't going to be in the final film. Nor is any of the model that Perri made. As the issues that arose aren't really related to my work I won't go too far in to specifics, but basically what this means is that I have to make the lighting bloody good or else it's going to look like I've not done any work.
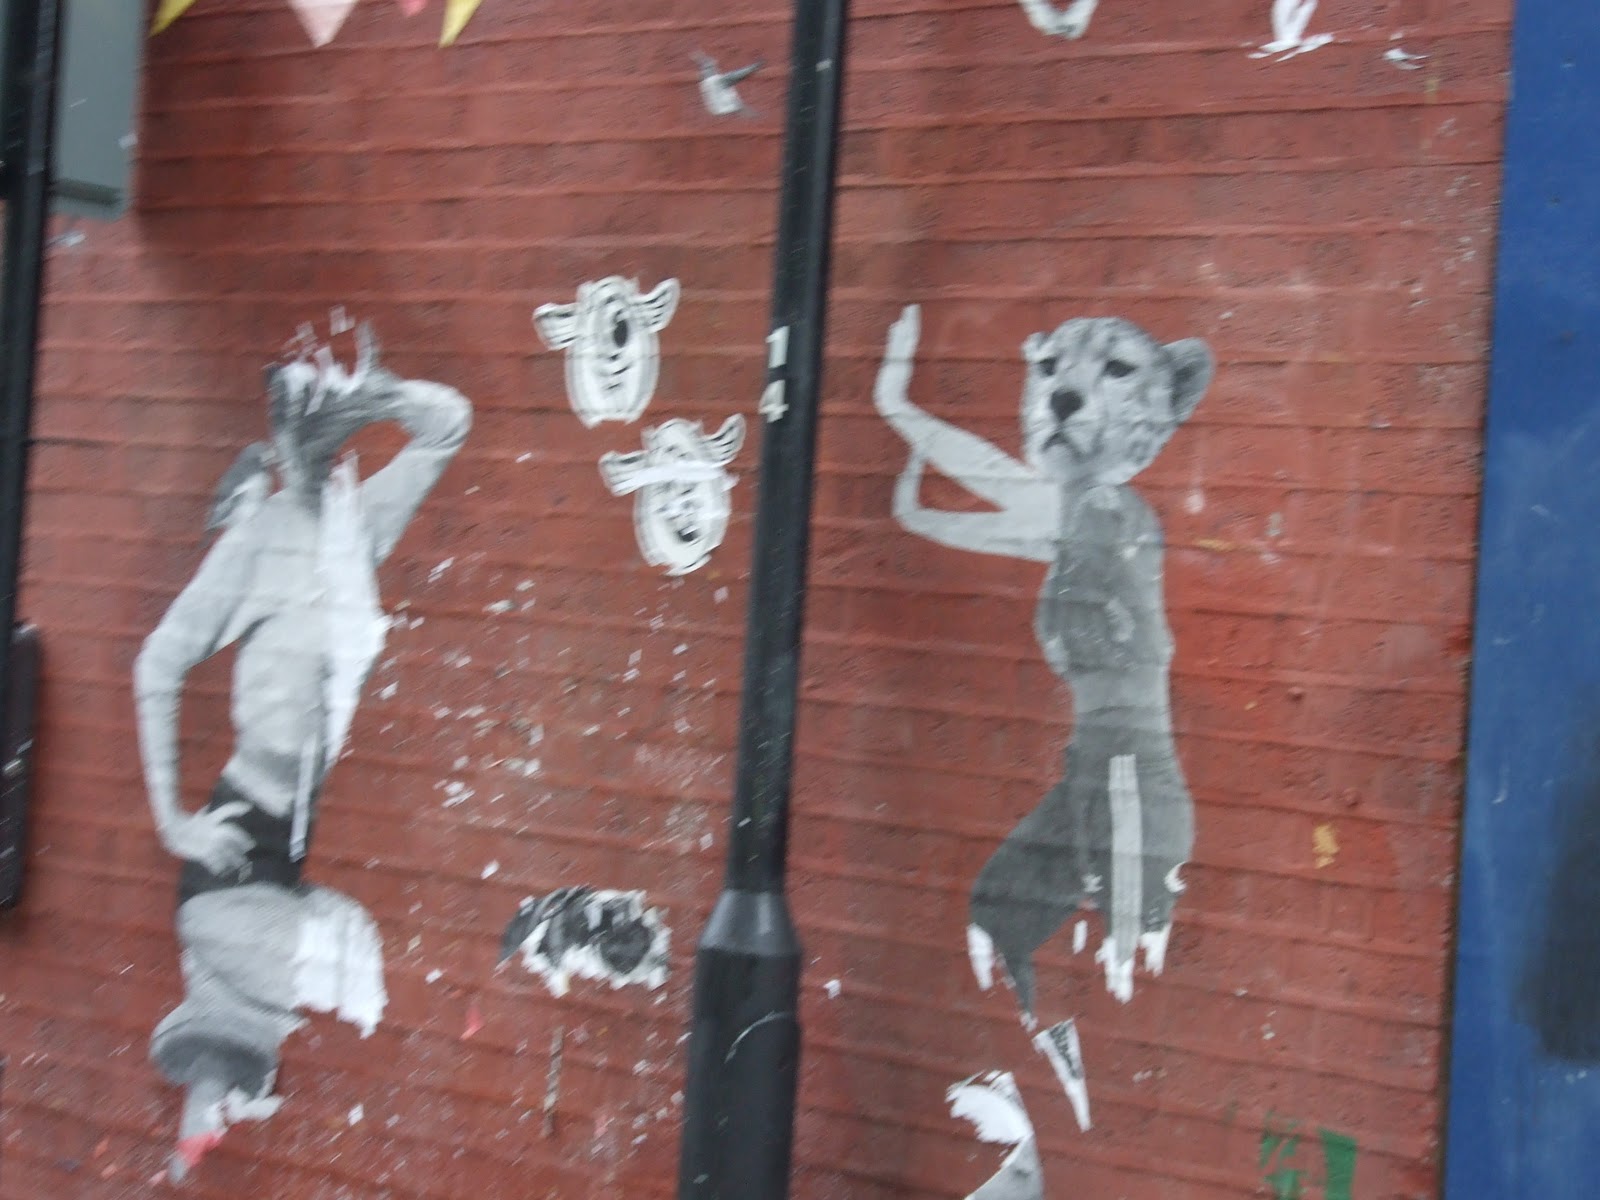
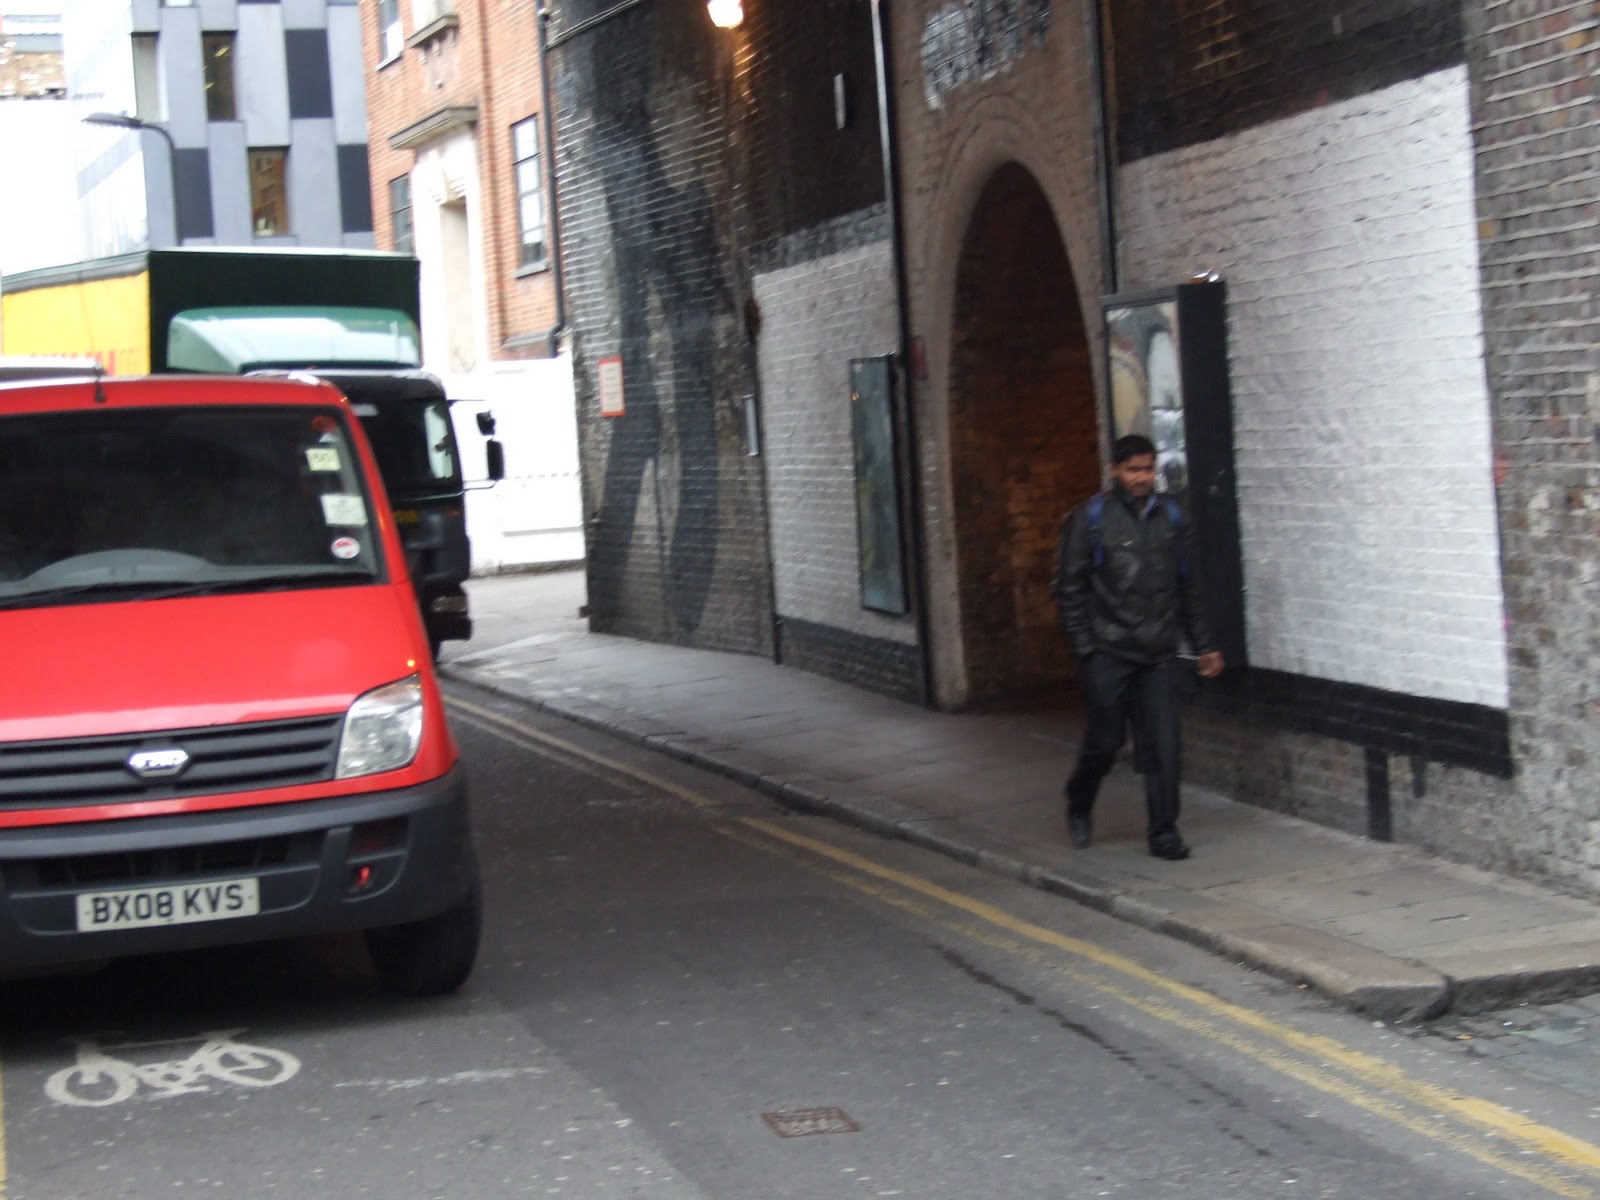
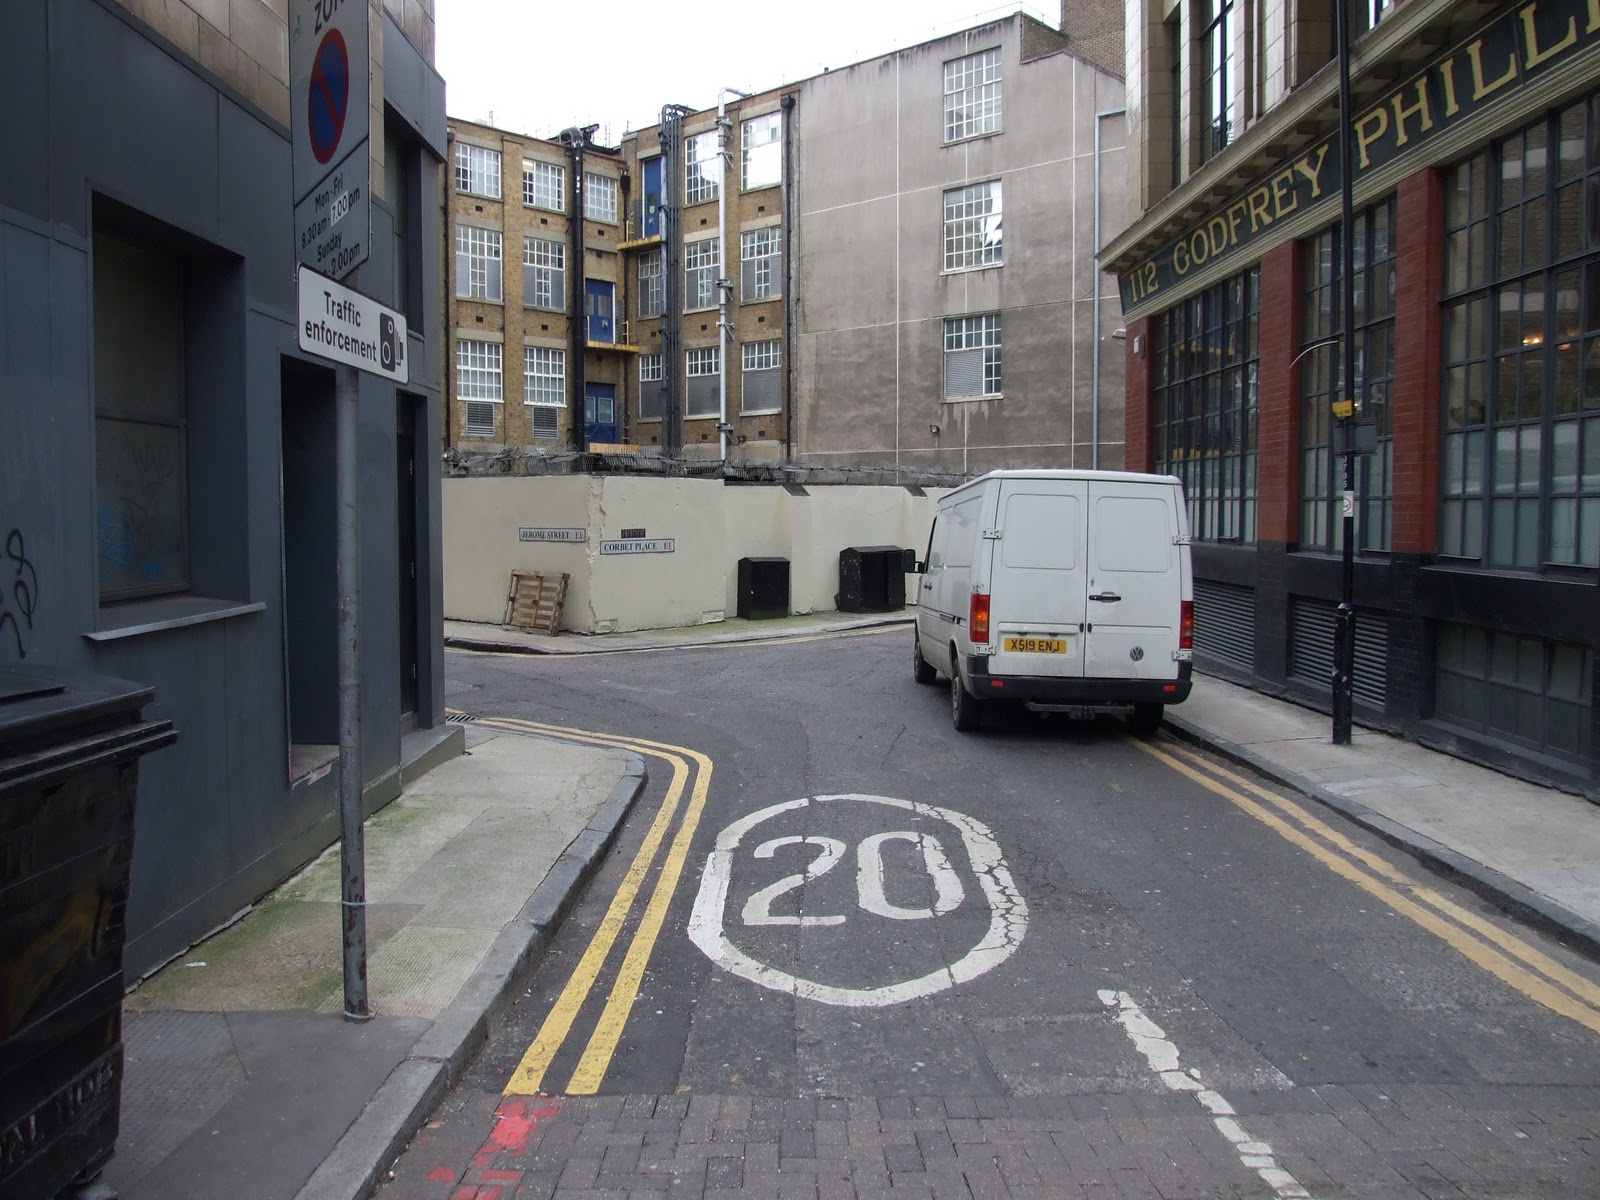
Will had been working hard on the storyboard and animatic so we knew pretty much what we needed to film. We'd all gone and looked at various places to figure out where had all the features we needed to make this film. Will and I went to Shoredich, because I knew that we'd find some interesting scenery and we'd be able to find quiet spots to film where no one would walk in shot. I took some photos:


 I guess when I said "I took some photos" What I meant was "I'm going to post 50 photographs now, only to talk about how we're not even going to use this location straight afterwards". Yeah, Shoredich is kinda cool, but there's nothing interesting for the freerunner to interact with. Luckily the other guys went out and found Kilburn Park, which turned out to be pretty much perfect.
So we went out and filmed. I directed the acting while Nat directed cinematography. I make out like there were clearly defined roles, but to be fair it was pretty much a group effort. I just made sure our actor (Richard) knew what he was doing and was able to convey what needed to be conveyed. It's pretty hard pretending there's a monster there when there clearly isn't. We'd almost got all the shots we needed when one of the locals said he wasn't happy with us filming anymore so we had to leave without the final shot. But this was ok, because Nat was going to create the environment digitally and we'd just put Richard in later using green screens. We were using pretty much entirely static shots at this point, so the green screening would give us an opportunity to do some motion tracking too.
OK, so first thing's first... That model we were going to use? Not going to work unfortunately. Too many problems. Perri made additions to it directly in Maya which looked fine static, but as soon as the model was textured and rigged things started to go wrong. What this means for me is that the arm I made isn't going to be in the final film. Nor is any of the model that Perri made. As the issues that arose aren't really related to my work I won't go too far in to specifics, but basically what this means is that I have to make the lighting bloody good or else it's going to look like I've not done any work.
Will had been working hard on the storyboard and animatic so we knew pretty much what we needed to film. We'd all gone and looked at various places to figure out where had all the features we needed to make this film. Will and I went to Shoredich, because I knew that we'd find some interesting scenery and we'd be able to find quiet spots to film where no one would walk in shot. I took some photos:


So we went out and filmed. I directed the acting while Nat directed cinematography. I make out like there were clearly defined roles, but to be fair it was pretty much a group effort. I just made sure our actor (Richard) knew what he was doing and was able to convey what needed to be conveyed. It's pretty hard pretending there's a monster there when there clearly isn't. We'd almost got all the shots we needed when one of the locals said he wasn't happy with us filming anymore so we had to leave without the final shot. But this was ok, because Nat was going to create the environment digitally and we'd just put Richard in later using green screens. We were using pretty much entirely static shots at this point, so the green screening would give us an opportunity to do some motion tracking too.
Subscribe to:
Posts (Atom)